Depo Headlight adjuster repair
Posted: Sat Feb 09, 2013 7:10 pm
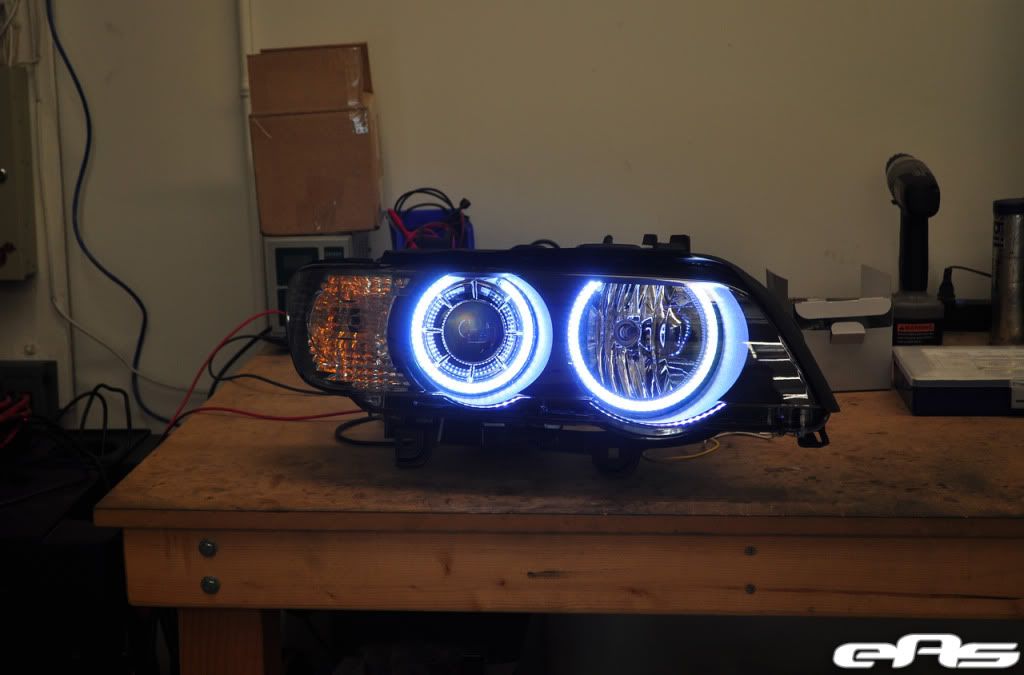
Had a bit of a moment when adjusting the aim on my new (to me) Depo lights. There was a "Pop" and the nearside light dropped its aim to 2 ft in front of the car. Any how, left it a week to compose my self and went in to investigate. Popping the headlight out I was able to see through the xenon hole with the bulb removed, that it was just that the up down adjuster ball joint had seperated which was a relief. Try as i might I could not get it back in with the unit assembled so I had to break out the heat gun. Ive read about the baking method but preffered to be a little more in control of the heat. The you dont have to get the "Tar" too hot to soften it sufficently, just keep working the gun around the outside and gently lever with a large flat blade. Take your time and it comes appart quite easily......
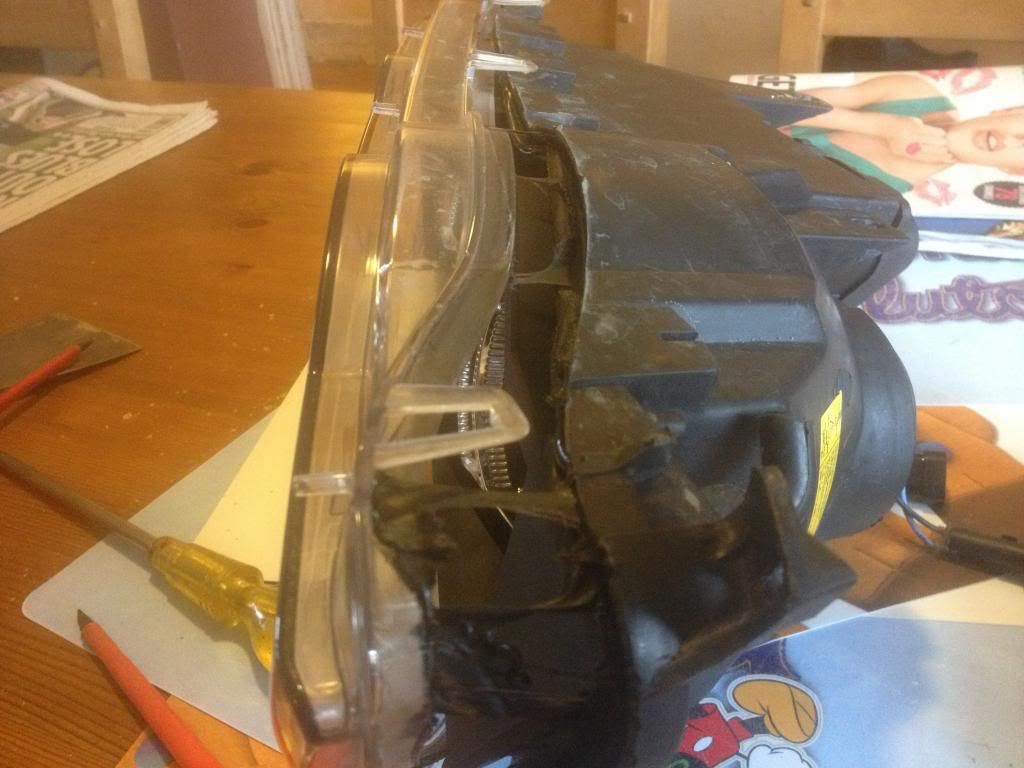
The next part was the hardest. There are 5 or six screws holding the inner black trim to the light and the screws are burried under the black tar so need a bit of digging and heating to remove them.
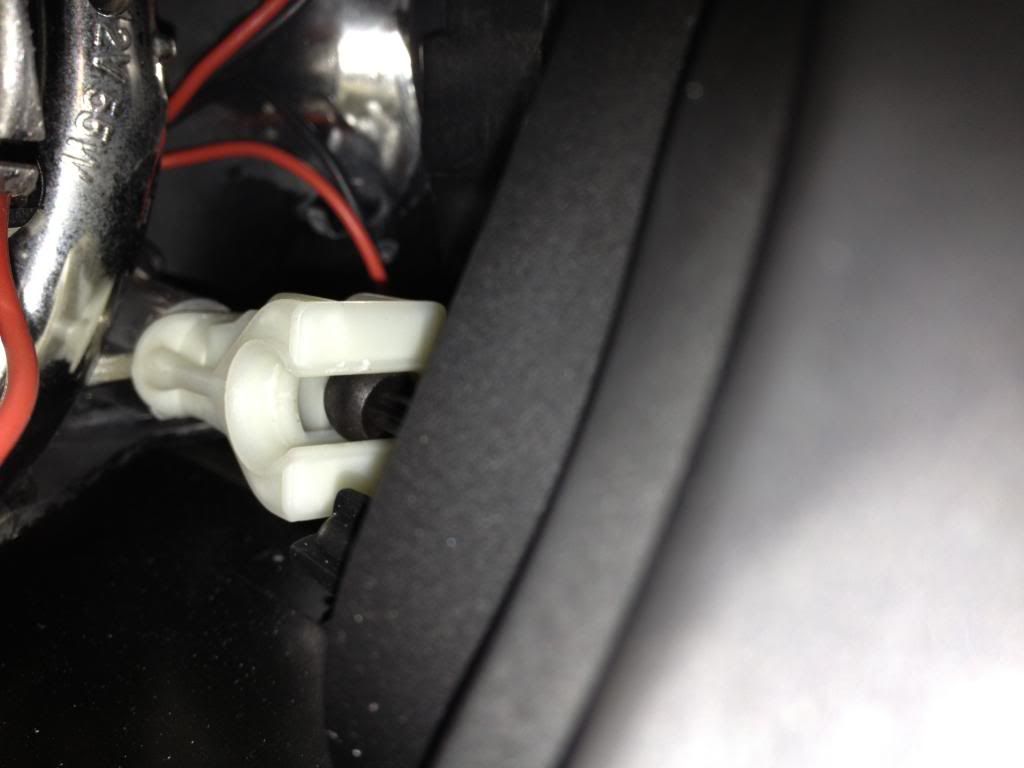
Once this is off twiddle the adjusters so they unscrew fully from their screws and then remove the levelling motor and manipulate the ball out of the side of it mount shown here......
This is what you will have when removed.........
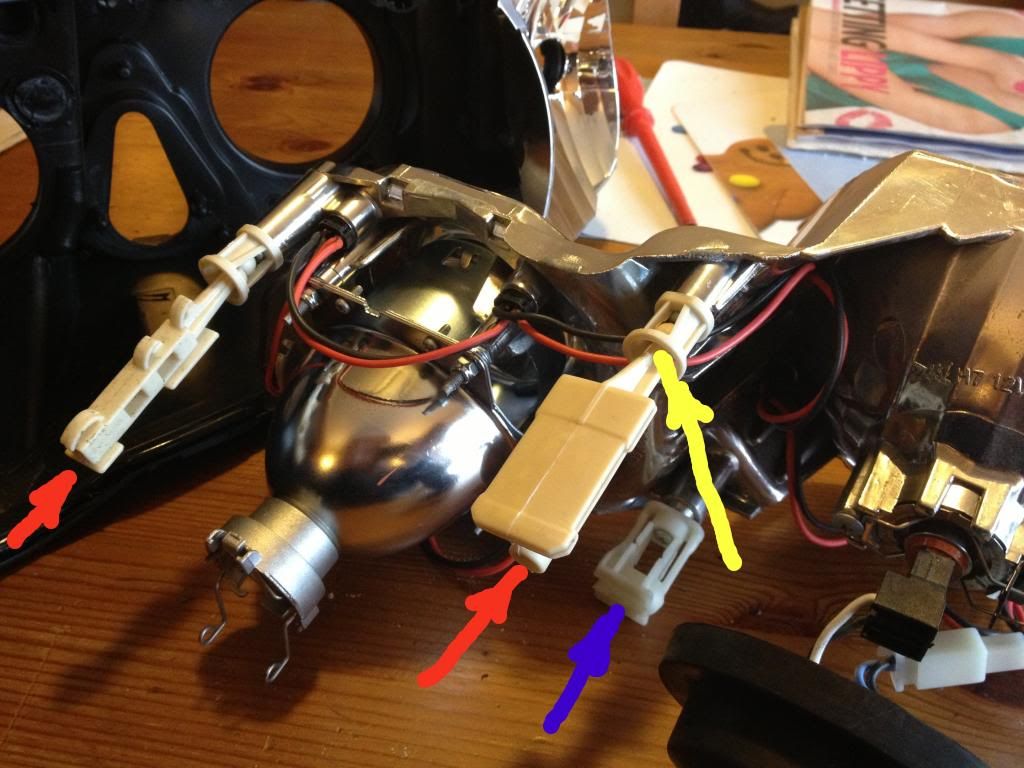
The yellow arrow shows the ball joint that had popped out on mine.
Red arrows show where the adjusting screws go into the plastic adjusters
Blue arrow is the socket for the levelling motor.
The seperated joint was easily put back in with the unit appart and as they say, assembly is the reverse..
While I was there I took some measurments with a veiw to upgrading the halos to CCFL units. But thats another story.

The next part was the hardest. There are 5 or six screws holding the inner black trim to the light and the screws are burried under the black tar so need a bit of digging and heating to remove them.
Once this is off twiddle the adjusters so they unscrew fully from their screws and then remove the levelling motor and manipulate the ball out of the side of it mount shown here......

This is what you will have when removed.........

The yellow arrow shows the ball joint that had popped out on mine.
Red arrows show where the adjusting screws go into the plastic adjusters
Blue arrow is the socket for the levelling motor.
The seperated joint was easily put back in with the unit appart and as they say, assembly is the reverse..
While I was there I took some measurments with a veiw to upgrading the halos to CCFL units. But thats another story.
