Not joined yet? Register for free and enjoy features such as alerts, private messaging and viewing latest posts and topics.
How to replace front Tension Arm.
I was suffering from vibration through the steering wheel from over 60mph. This is often caused by worn bushes on the front Tension arm (Item 7) or worn balljoints (Items 10 or 15) on the diagram below.
By laying on my back, grabbing the Tension arm in the middle and twisting, it was obvious the bush (#7) was worn as cracks in the bush could be seen when twisting it.
Bush #7 can be bought for about £35 and pressed into place, however I don`t have access to a suitable press and was short of time. 2 new Tension arms were £65 ea from my local motor factors.
Start by removing the front roadwheel and securing the car on axle stands.
Remove the small 8mm bolts holding the inner arch liner in place (many were rusted and needed a pair of mole grips to loosen them)
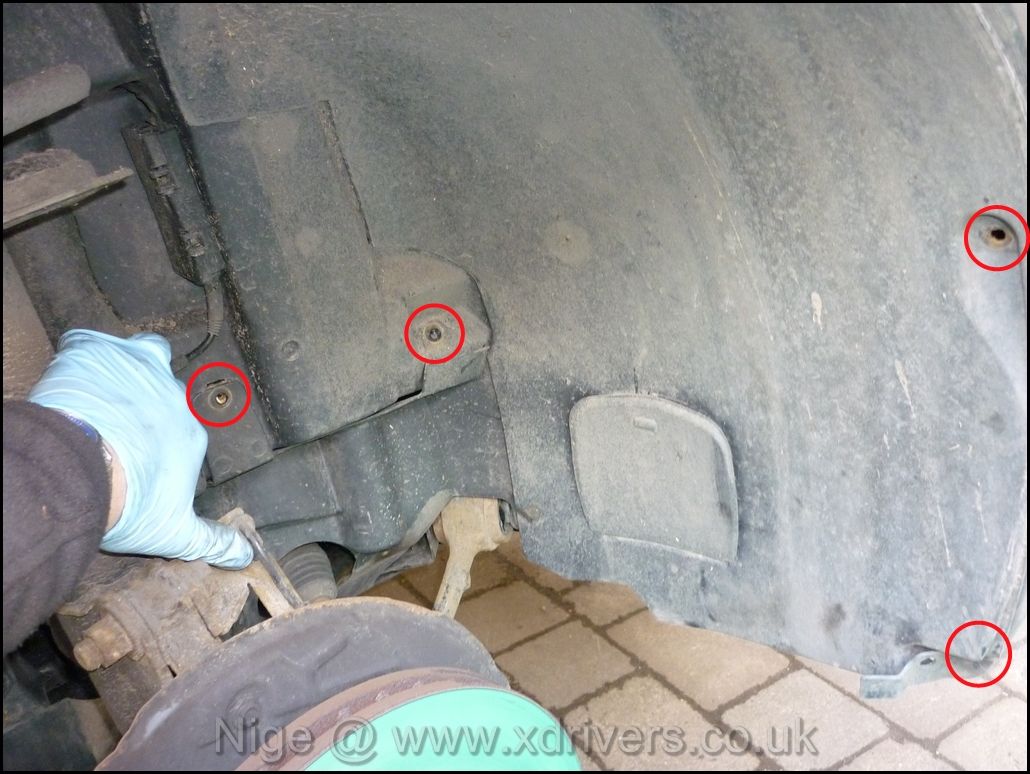
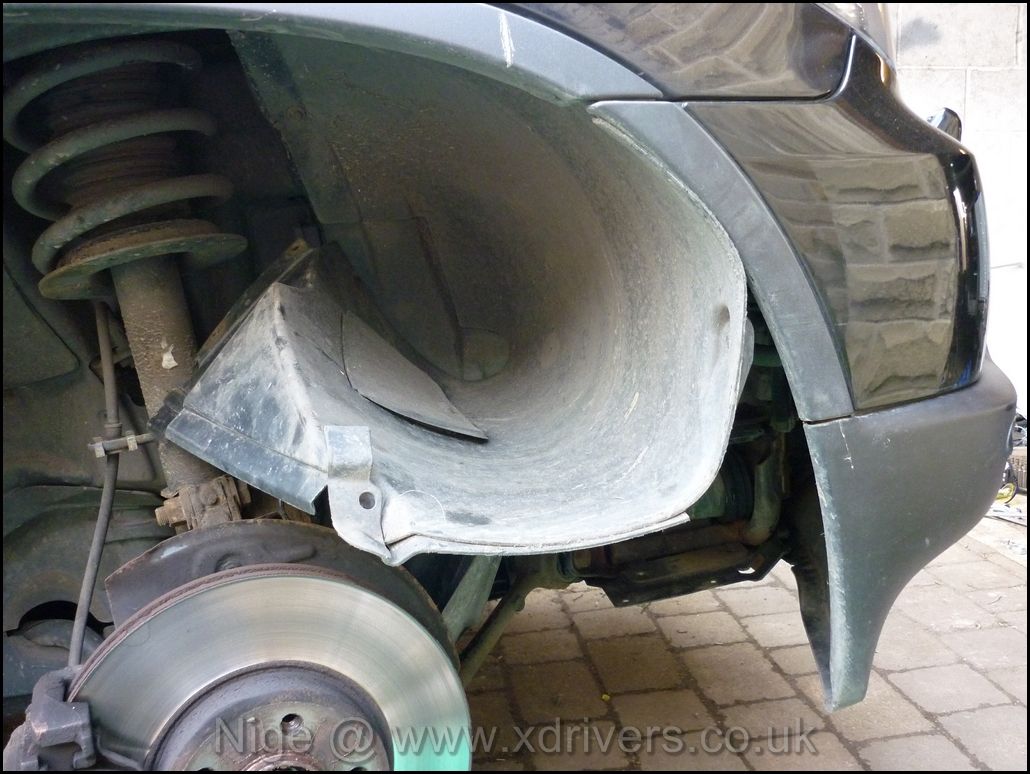
The arch can then be `peeled` back, this was easier than fully removing the entire liner. Once done, the brake duct needs removing by taking out the 4 screws. On the passenger side, the external air sensor is fitted to the duct, so be careful not to pull the wires out. The plastic guard over the steering arm was also remove to make access easier.
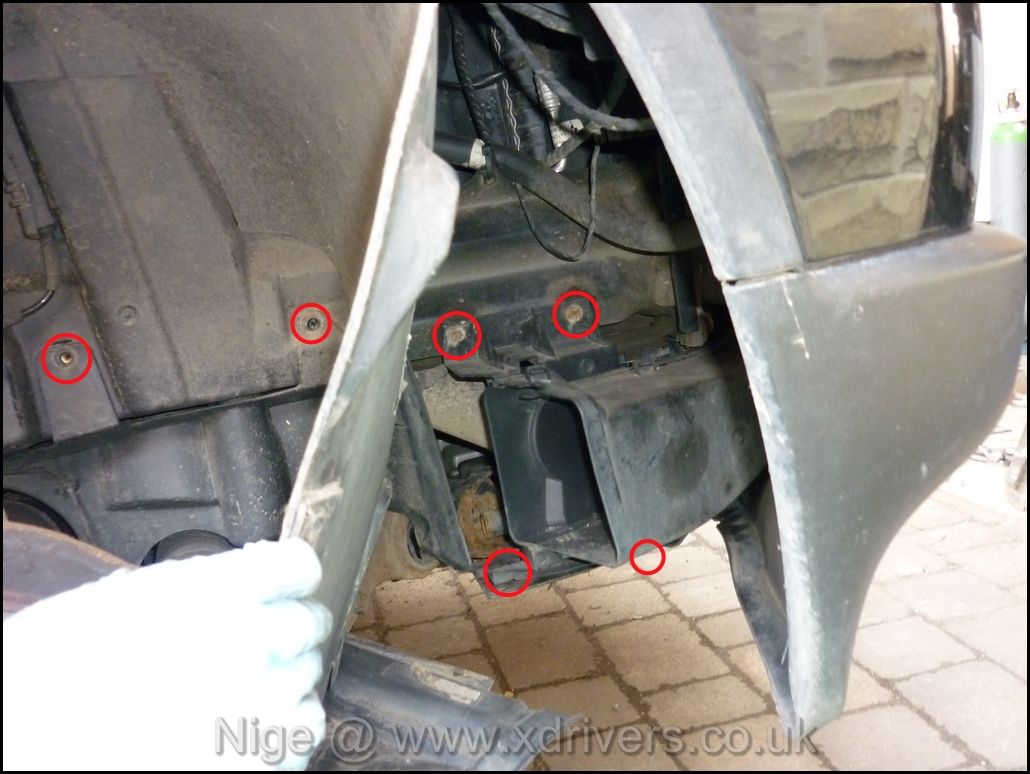
There is also a plastic clip that can be accessed from the front bumper with a screwdriver, the centre needed to be pulled out.
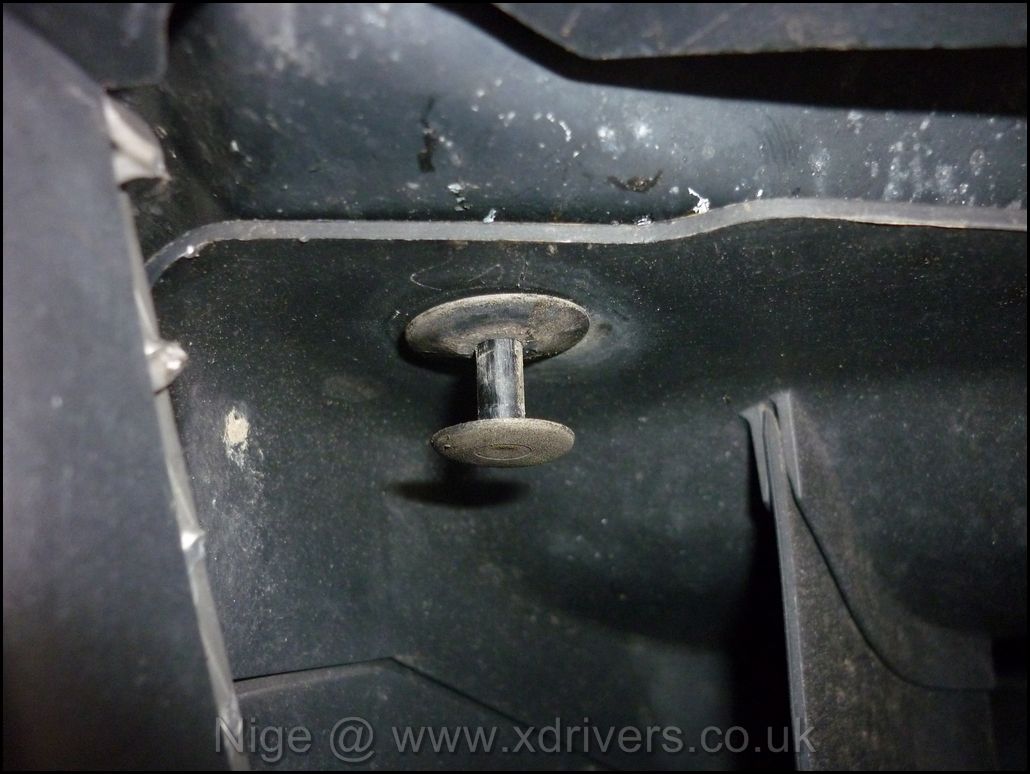
External air temp sensor can just be seen at the bottom right of the photo
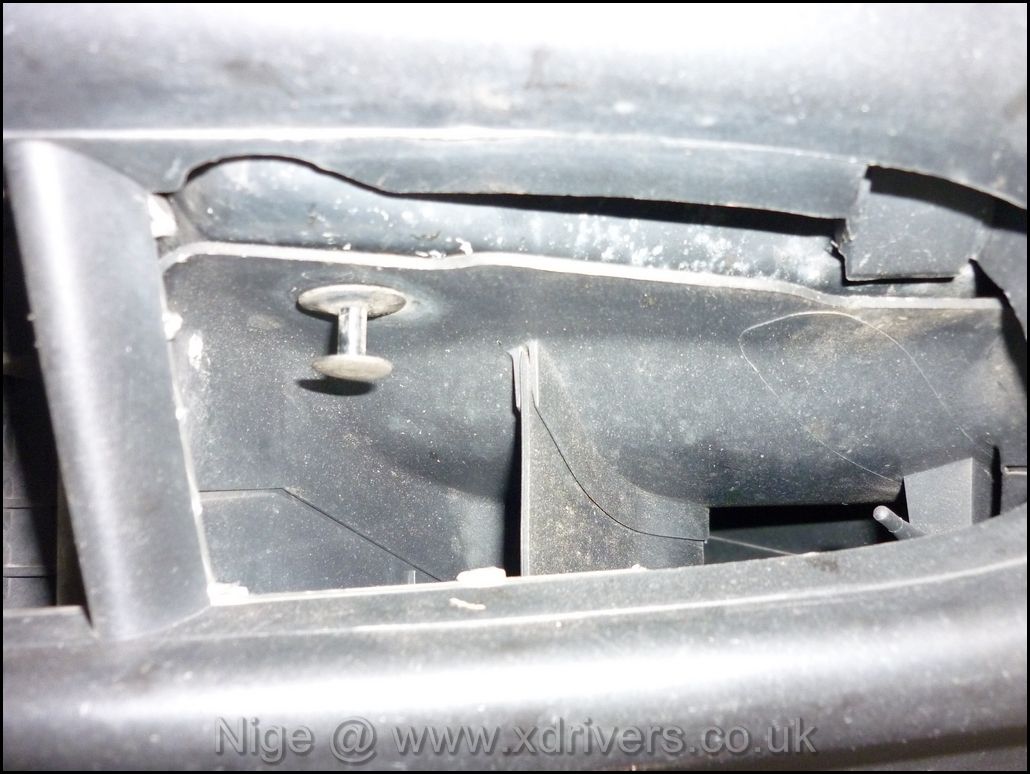
Arch peeled back and wedged in place
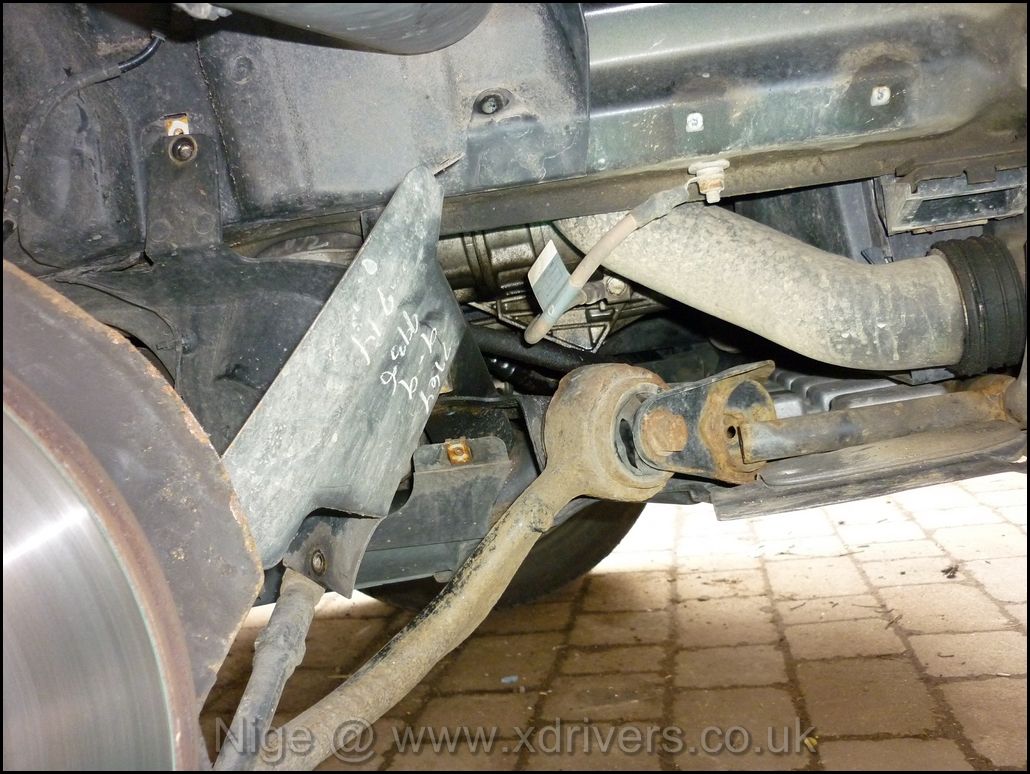
The tension arm securing bolt.
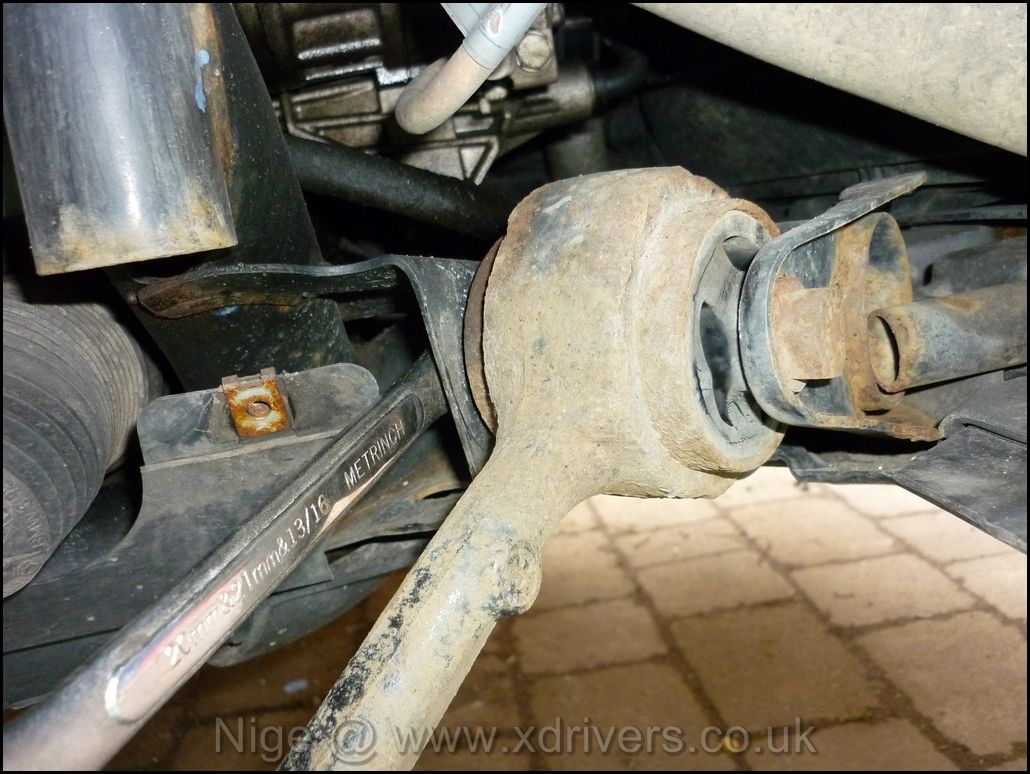
Access for the nut is very tight, so I used a ring spanner to lock the nut.
Socket onto the Bolt
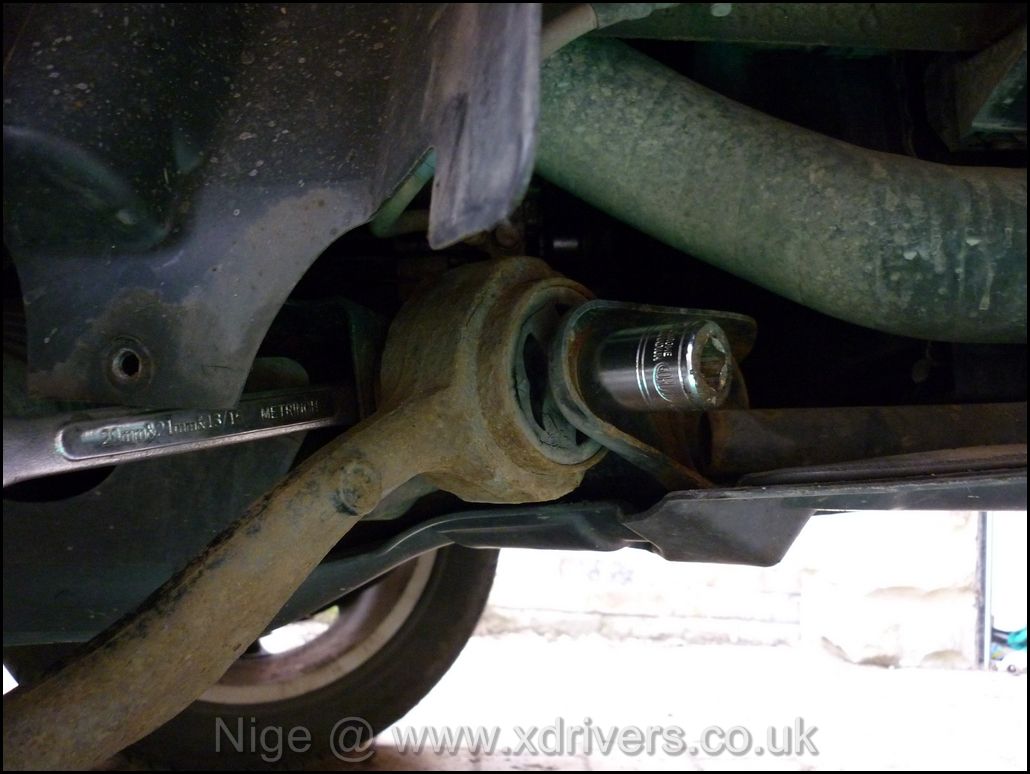
long bar is needed to loosen the bolt.
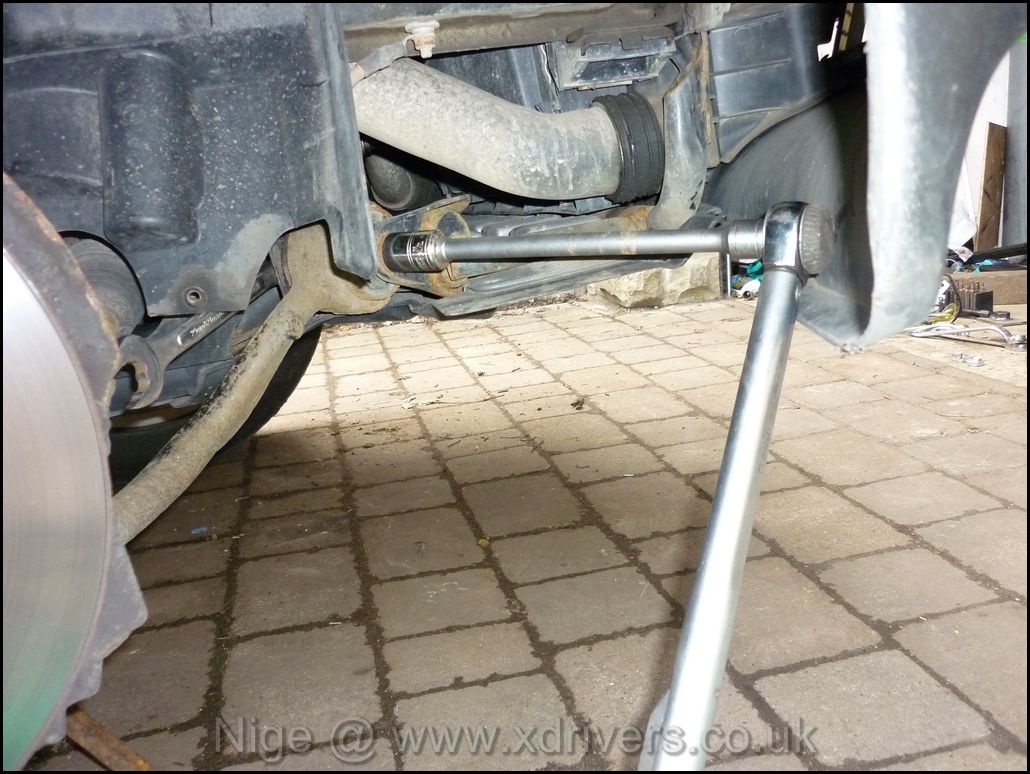
Once removed, place to one side.
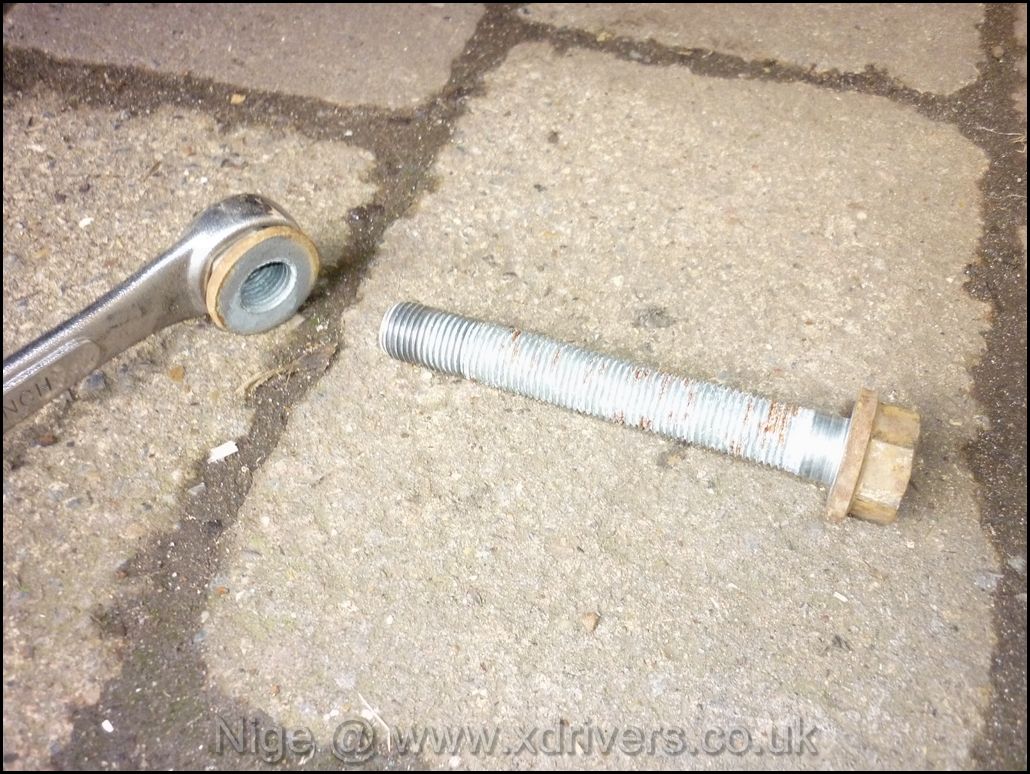
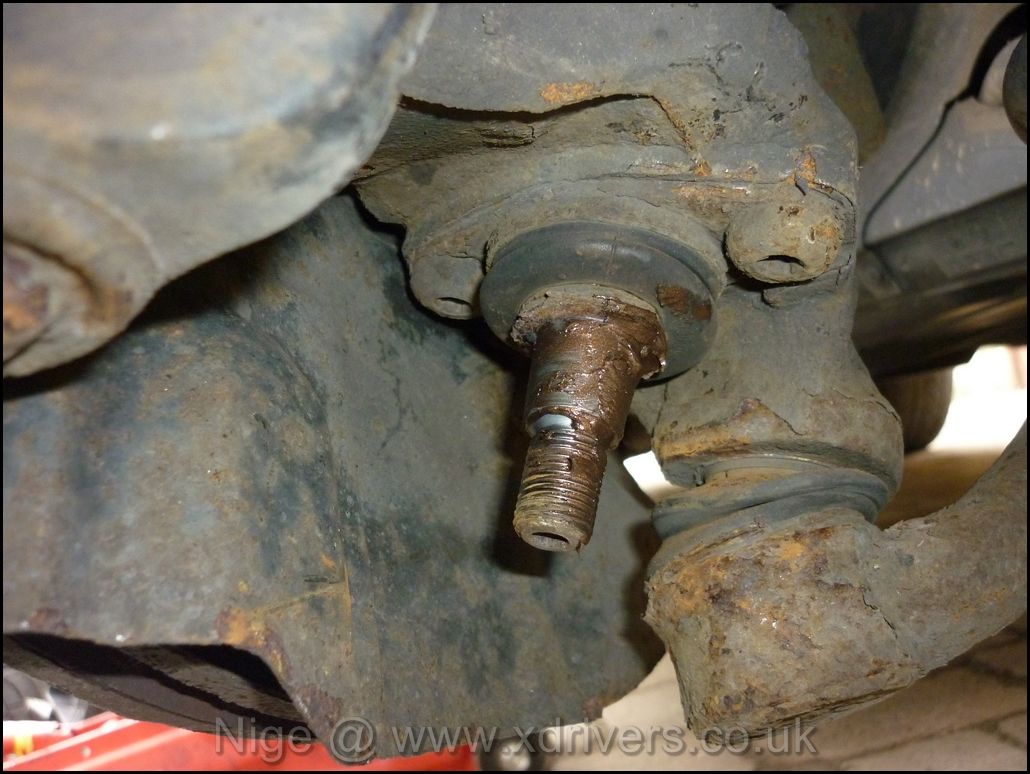
The large nut holding the arm to the balljoint can be removed.
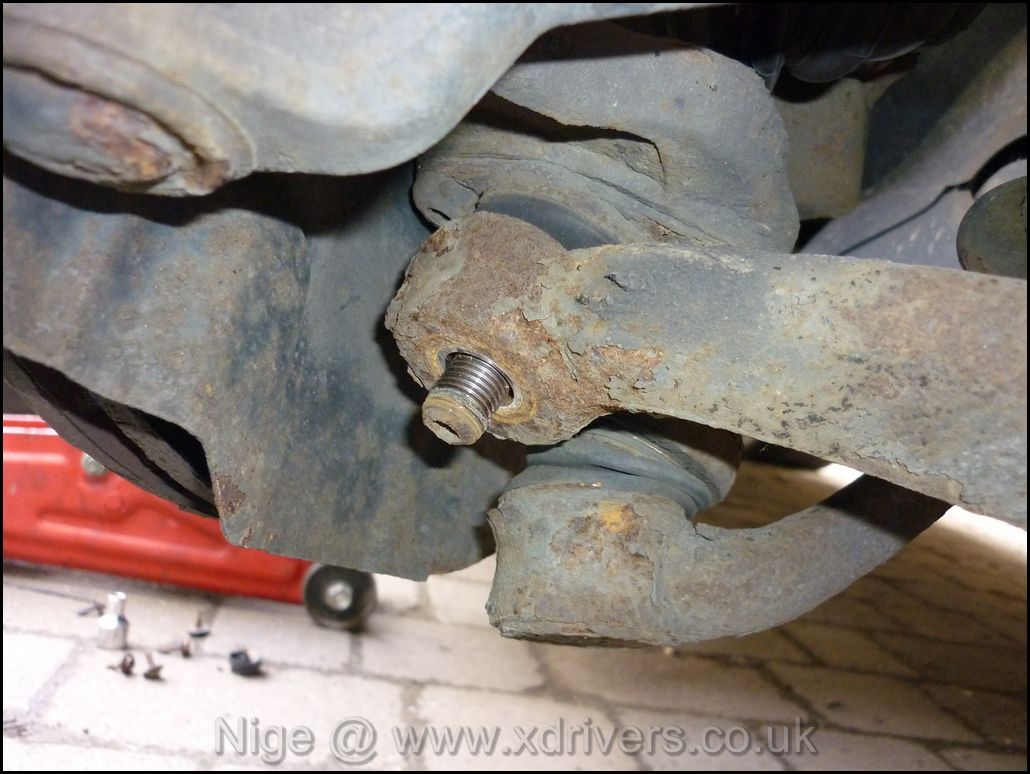
Ready for removal..
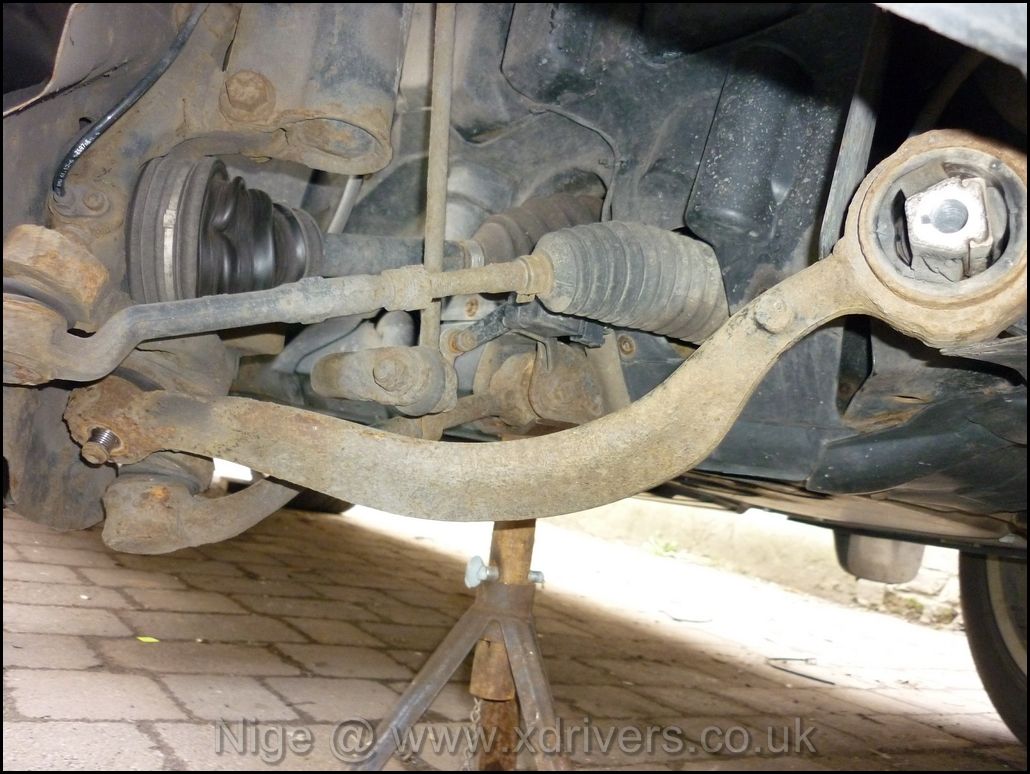
This is where a balljoint splitter is required. I didn`t have one large enough and had to manage with a 19mm one. It made the job much more difficult. on my car, this has been in situ for 90,000 miles and 6 years. It was `secure`...
Some people hit the top of the arm with a large hammer and knock it off the balljoint, but I was reluctant to do this for fear of damaging the balljoint (#15) in the process.
I used a piece or bar to put tension on the balljoint frmo the balljoint splitter.
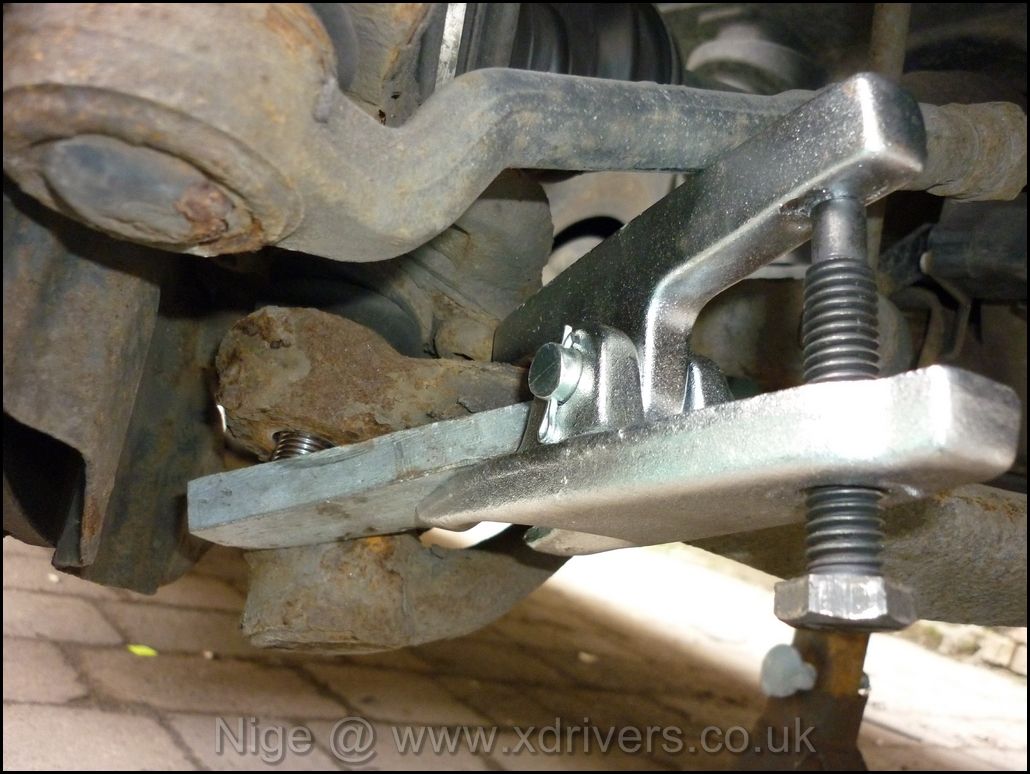
Hitting the end of the balljoint, whilt it is under tension did the trick for me. Each side probably took 30 minutes to actually remove the arm from the balljoint. They are tight, but DO come off with perseverance.
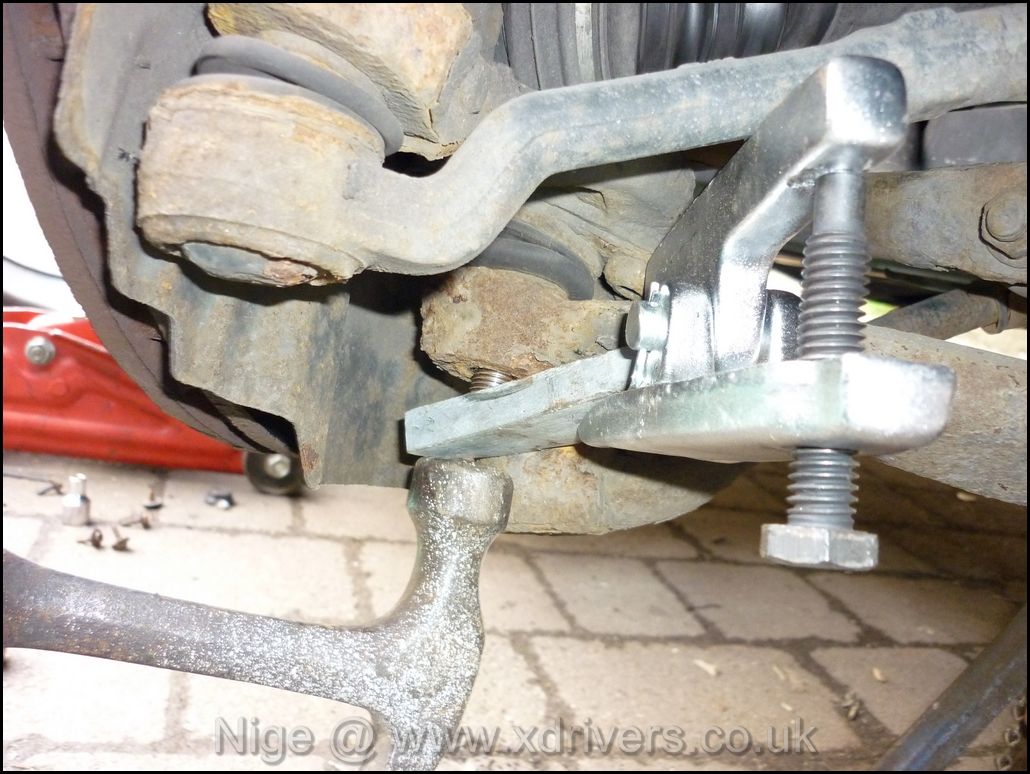
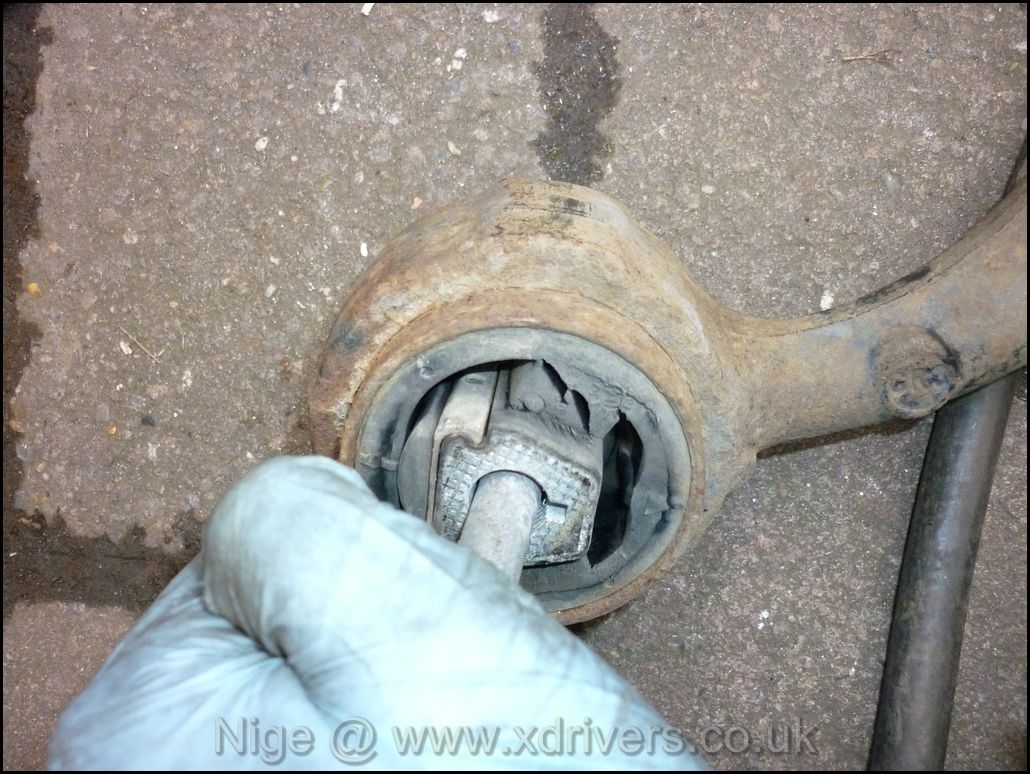
Once removed, it was immediately obvious how much the old bush had worn
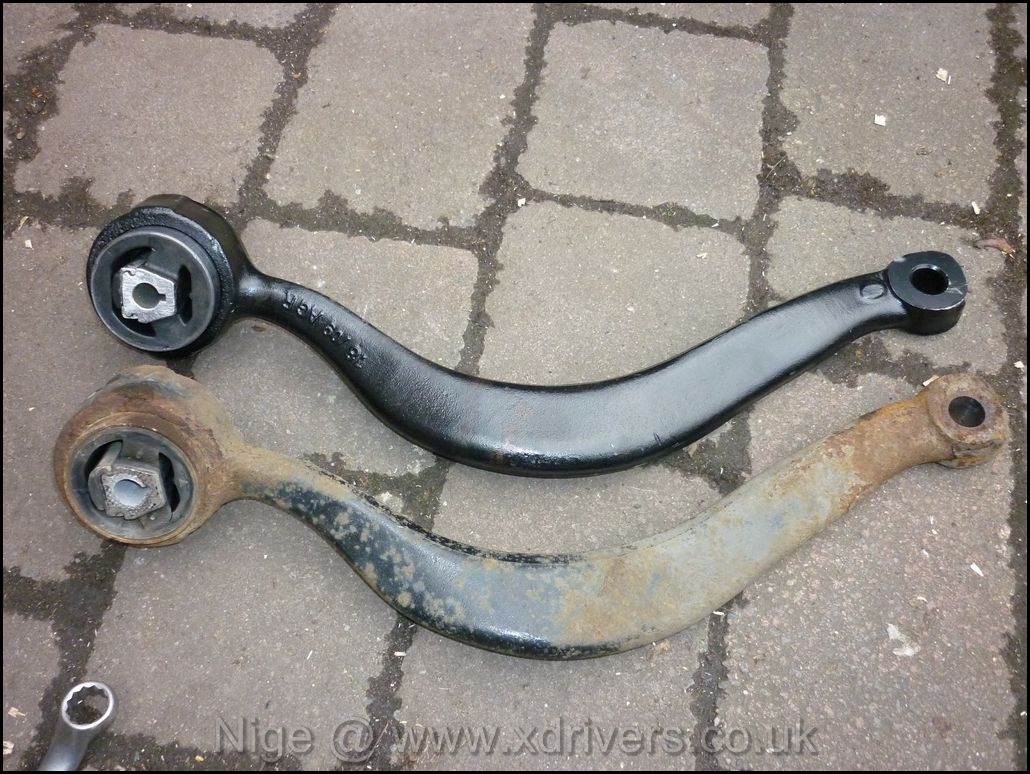
New arm next to old one
Copperslip applied to balljoint taper to enable easier removal if needed in future..
.
Refitted the arm into the chassis mount
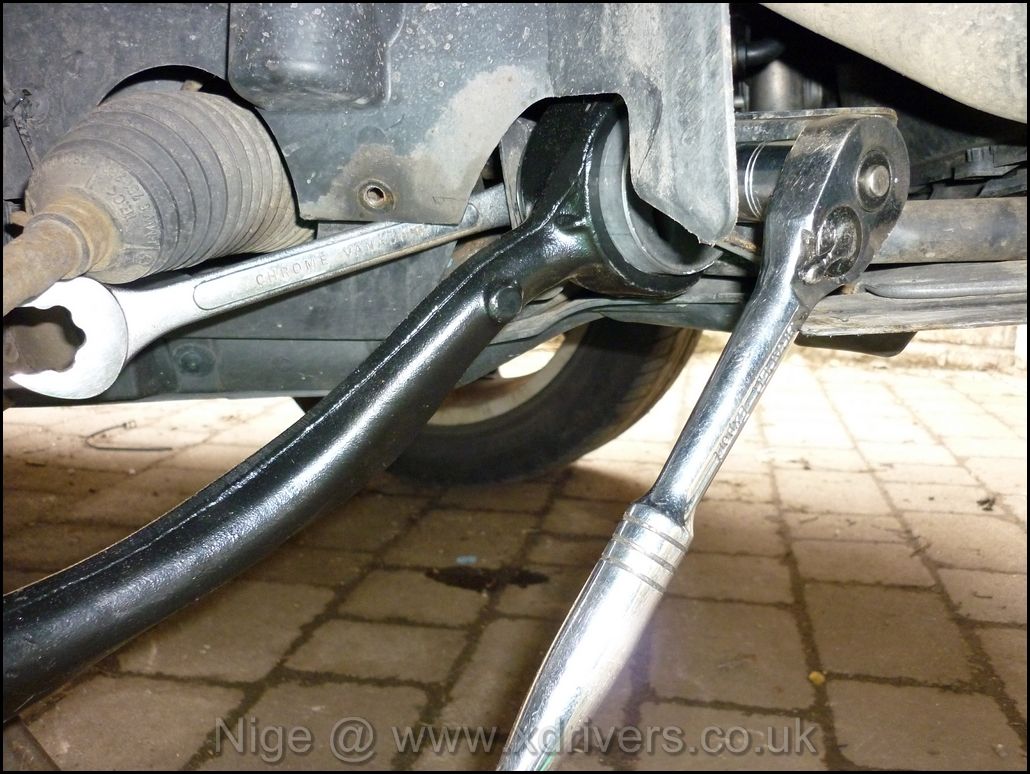
I then refitted the plastic trip, ensured everything was secure and repeated on the other side. The vibration is gone and the car sailed through the MOT.
Hope this helps.
Nige.
Re: How to replace front Tension Arm.
thanks nige, excellent write up! very clear.
this will be very useful to many, as our cars are all getting on a bit now and will no doubt need these replacing at some point.
i note your using metrinch spanners, very useful for getting rounded off nuts/bolts off.
this will be very useful to many, as our cars are all getting on a bit now and will no doubt need these replacing at some point.
i note your using metrinch spanners, very useful for getting rounded off nuts/bolts off.
05 stirling grey 3.0d Auto. mods - park heater, reverse cam, aux in
Re: How to replace front Tension Arm.
Top man Nige, great job.
Paul
Paul
3.0d Sport. Xenons,Tv/sat,Blinds,DVD Headrests,sidesteps,mudflaps,DSP,Walnut trim,softer leather,heated seats,remap,automatic,Oval exhaust upgrade, death ray and rockets.
Previous car; E46 M3 Convertible SMG.
Re: How to replace front Tension Arm.
[quote=""fenj66""]i note your using metrinch spanners, very useful for getting rounded off nuts/bolts off.[/quote]
Yeah, it was the only one I had that fitted the nut (21mm I think), but they are useful for rounded bolts
As you say, our cars are getting on a bit and these sort of things will need doing. A proper sized balljoint splitter would have made the job MUCH easier. That was the hardest part.
Yeah, it was the only one I had that fitted the nut (21mm I think), but they are useful for rounded bolts
As you say, our cars are getting on a bit and these sort of things will need doing. A proper sized balljoint splitter would have made the job MUCH easier. That was the hardest part.
-
Onlinelezmtaylor
- Member
- Posts: 986
- Joined: Sat Jul 31, 2010 11:25 pm
- Location: Gloucester
Re: How to replace front Tension Arm.
That is a first class write up, another check point on my list of to do's.
Lez
Lez
2002. 4.4lpg,ledAE's,Xenons,paddleshift,compass mirror,inst rings,led int lights,rear camera,crystal tailights,eisenmann road exh,Schnitzer pedals,chrome indicators,colour co-ord headlamps & bonnet grilles,hualigim entertainment system.dash and rearcamera,comfort seats.hud,bull bars,engine instalube
-
- Snr Member
- Posts: 1013
- Joined: Sat Oct 30, 2010 3:52 pm
- Location: Manchester
Re: How to replace front Tension Arm.
[quote=""lezmtaylor""]That is a first class write up, another check point on my list of to do's.
Lez[/quote]
agreed...brilliant
On the tool front please
What size sockets and spanners are required?
Ball joint splitter...would a pickle fork be better and if so how big
Plus....would you not consider replacing the ball joint too whilst it's in bits? The nuts on it look weird though
Lez[/quote]
agreed...brilliant
On the tool front please
What size sockets and spanners are required?
Ball joint splitter...would a pickle fork be better and if so how big
Plus....would you not consider replacing the ball joint too whilst it's in bits? The nuts on it look weird though
Re: How to replace front Tension Arm.
Once again a great write up Nige and thanks for taking the time to do so it's what makes this forum so great
54 PLATE E53 3.0d X5 FACELIFT BLACK WITH BLACK
Re: How to replace front Tension Arm.
great write up, I'm wondering if mine need doing.
The ride is pretty hard, sure this can't be right.
I've had 2 independents look at the bushes and tell me they're fine, but the ride is sooo hard. Is there a way to confirm for those of us who aren't technical?
The ride is pretty hard, sure this can't be right.
I've had 2 independents look at the bushes and tell me they're fine, but the ride is sooo hard. Is there a way to confirm for those of us who aren't technical?
2004 X5 4.4...to do - nothing! wheels refurbed, amplifier fixed, full MOT, living the dream!
E39 5er various AC Schnitzer mods - gone but not forgotten
Re: How to replace front Tension Arm.
[quote=""Giles90""]great write up, I'm wondering if mine need doing.
The ride is pretty hard, sure this can't be right.
I've had 2 independents look at the bushes and tell me they're fine, but the ride is sooo hard. Is there a way to confirm for those of us who aren't technical?[/quote]
Subframe bushes maybe? do you get a thump when setting off harshly?
The ride is pretty hard, sure this can't be right.
I've had 2 independents look at the bushes and tell me they're fine, but the ride is sooo hard. Is there a way to confirm for those of us who aren't technical?[/quote]
Subframe bushes maybe? do you get a thump when setting off harshly?
Re: How to replace front Tension Arm.
Hi macky, thanks for coming back to me!
Yes I do get a bit of a thump, is that pretty conclusive?
2004 X5 4.4...to do - nothing! wheels refurbed, amplifier fixed, full MOT, living the dream!
E39 5er various AC Schnitzer mods - gone but not forgotten
Re: How to replace front Tension Arm.
I should maybe have said that I don't really get any noises though, I know some issues with worn bushes can cause knocking noises.
2004 X5 4.4...to do - nothing! wheels refurbed, amplifier fixed, full MOT, living the dream!
E39 5er various AC Schnitzer mods - gone but not forgotten
Re: How to replace front Tension Arm.
ive had the bushes replaced with powerflex ones, but i still feel some sort of clunk / rattle from the front wheels...normally when going over speed bumps etc - is tension arm easy to see by laying under the car?