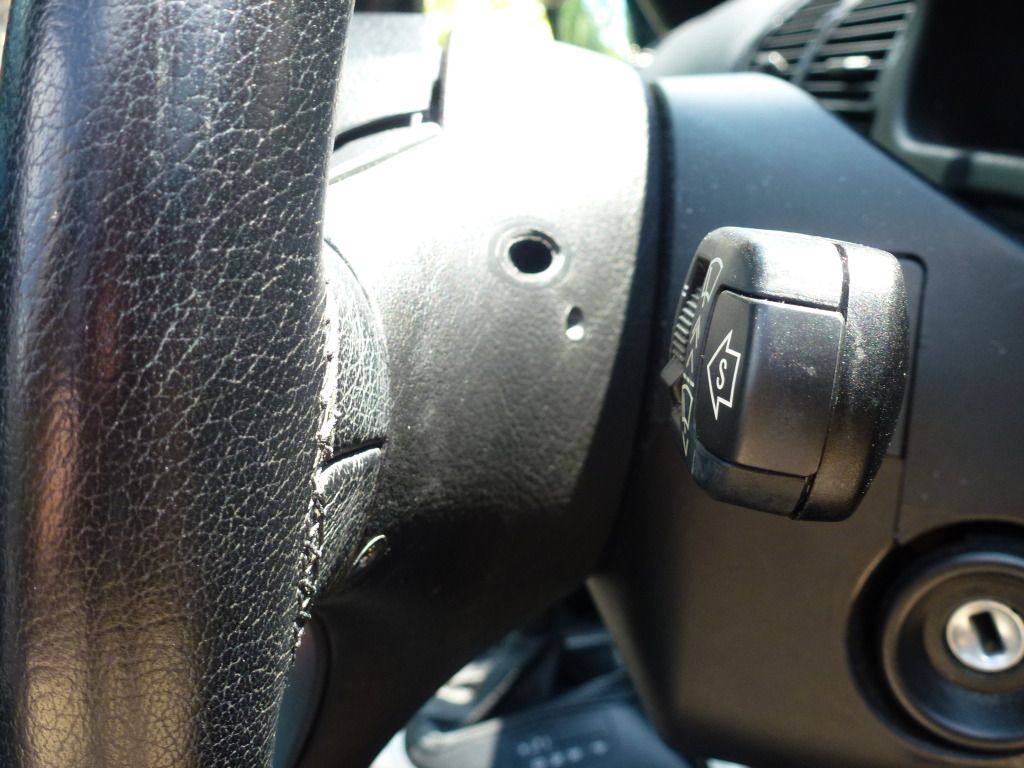
Here is how to replace the worn, scratched or re-sprayed steering wheel trim on your e53
Firstly I think you should either disconnect the battery or remove the airbag fuse. You can do it without doing so because I did but be careful.
Then you need to remove the airbag, you’ll find two elongated slots either side of the steering wheel, you need a flat headed screwdriver which you insert into each hole (one at a time) pushing until the airbag pops up (look on x5outpost for great info on swapping the steering wheel)

When each side of airbag has popped up leave it in place loose while you unscrew the trim. The trim is held in place by five size 10 torx screws two either side at the top and one at the bottom accessed from the back, which will release the trim complete with switches.

Feel or look behind the wheel for the holes and unscrew the torx screws turning wheel for better access don’t worry about loosing them as they will be held in place by the rubber on the wheel.
At this point place the airbag in the hole at the top of the wheel it just fits and holds in place so’s you can remove the trim.

Pull the wires from the clips holding them and disconnect the wires from the wheel the trim is now free and you can disconnect the multi function buttons with the four size 10 torx screws on the back put the screws back in the trim so’s not to loose them.

If you need to use the car while re spraying the trim you can replace the buttons and airbag temporarily and reconnect battery or fuse they will work fine.

To replace simply reverse the above . This will work the same for a preface lift model apart from the buttons are not on the trim so less messing around.
When I did mine I re-sprayed the trim to match the cars interior the pics are below.
Firstly rub/sand back the surface with wet and dry (iirc I used 1200)if you want take it back to it’s original state (white) like I did.

Then a few coats of acrylic primer

Then colour of choice (I actually used a rover colour as I have the graphite trim)

And then some lacquer to finish it off and protect it….job done.
Here are the final results, the pics aren’t the best but you can see the colour match to the interior trim isn’t bad.

Off course you could spray it any colour you wanted


